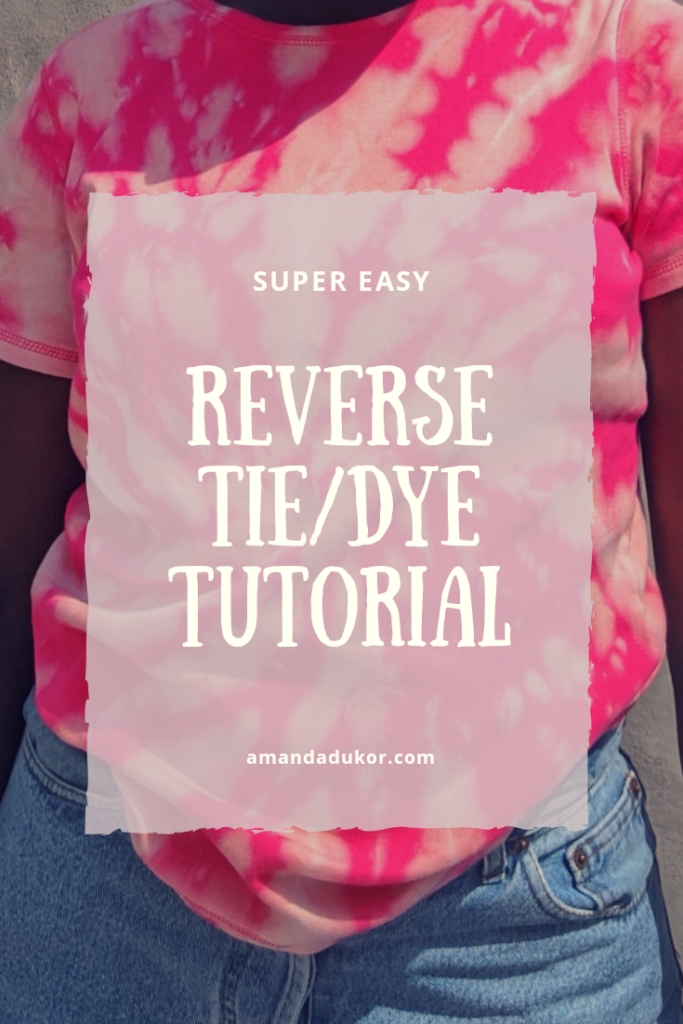
Got an old plain tee or hoodie sitting idle in your closet? Try this fun project with this super easy reverse tie-dye tutorial!
I posted a picture on my Instagram a while ago where I wore a tie-dye shirt. I noticed that quite a number of people liked it and a few even asked where I purchased it, not realizing it was a DIY project. DIY projects help my creativity generally and so being a sweet angel with a heart of gold, I decided to do a simple tutorial here!
Materials
- Bleach
- Water
- Rubber bands
- A plain coloured tee/hoodie ( preferably 100% cotton)
You don’t want your work to be messy so you probably want to spread something on your work surface.
Steps
Step 1: ‘Tie’ the shirt.
There are lots of tying techniques which you can find here. Feel free to use the one that suits you best, but for the purpose of this post, I’d be using the spiral technique.
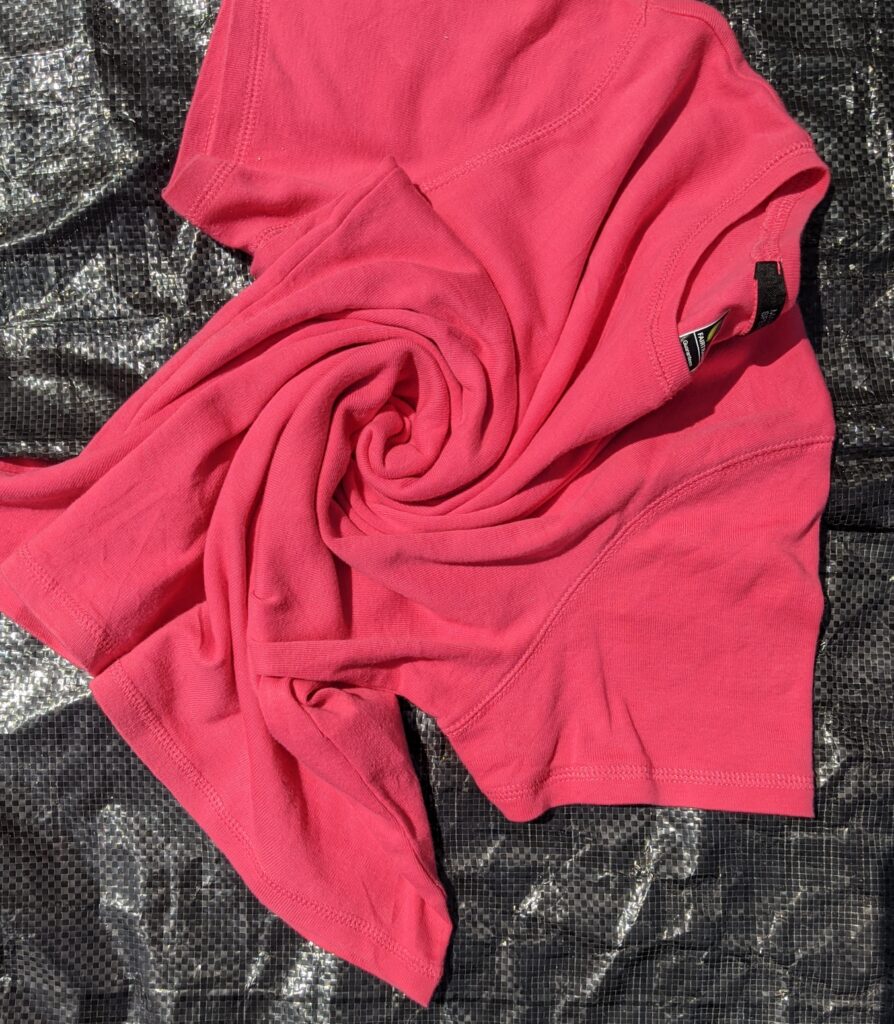
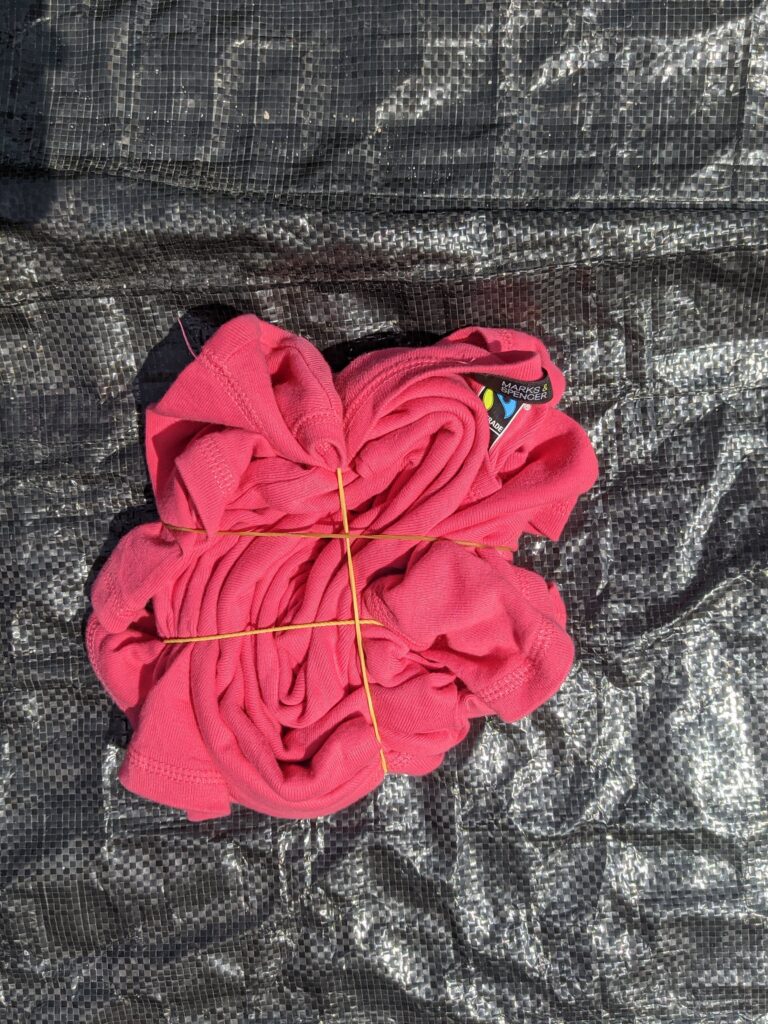
Step 2: Use the rubber bands to hold shirt in place.
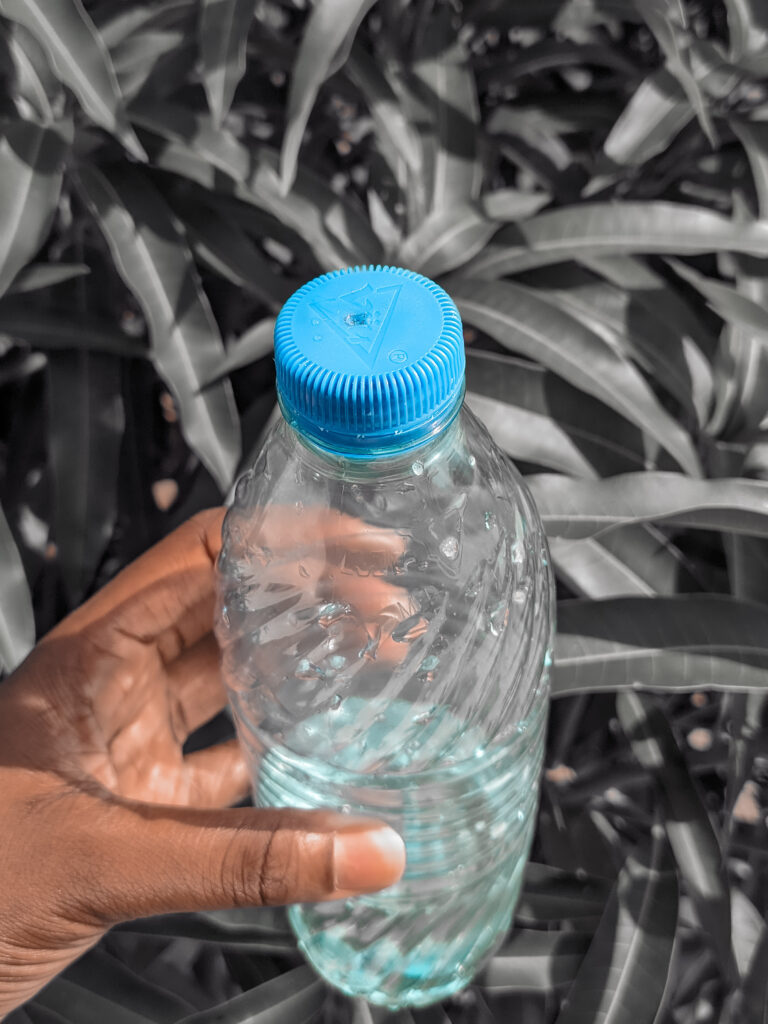
Step 3: Mix equal parts of bleach and water in a spray bottle.
If you don’t have one, you can make a makeshift spray bottle by puncturing the cap of a plastic bottle. You’re welcome.
Step 4: Spray the bleach + water mixture on your shirt till it is completely covered by the mixture.
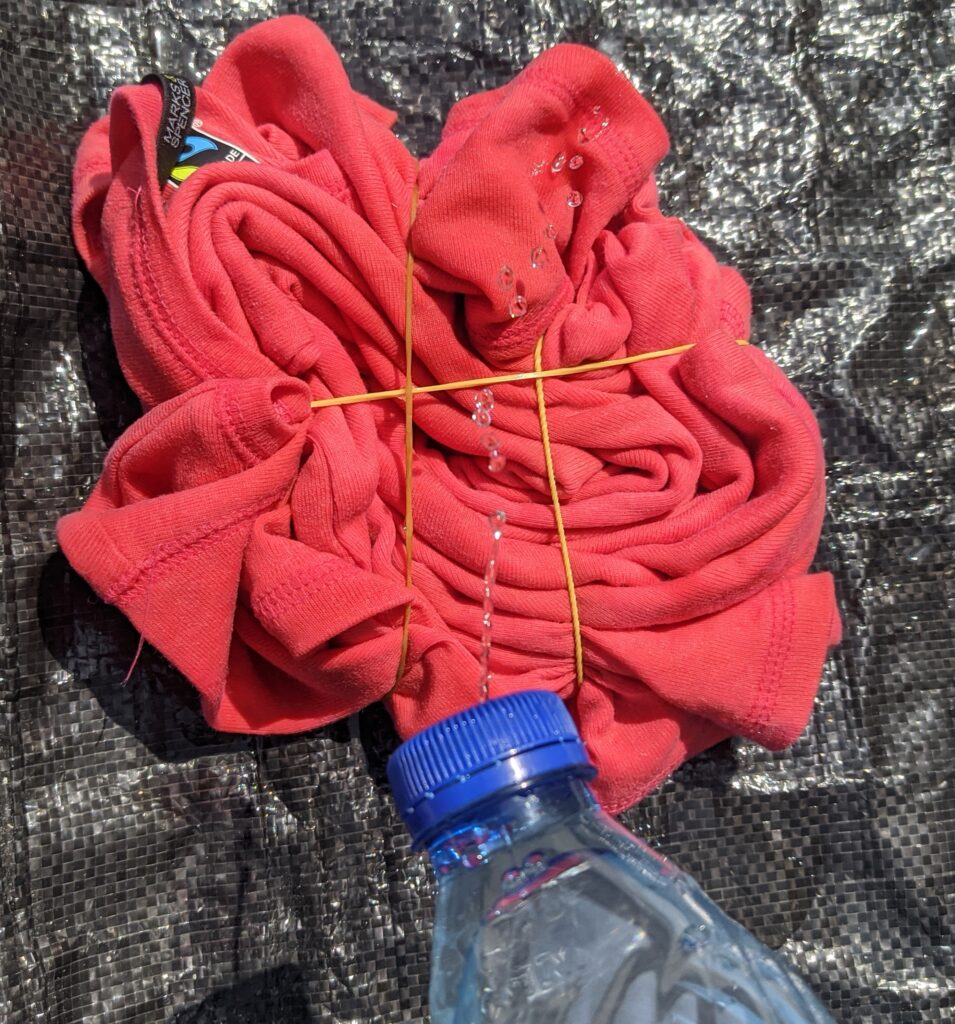
Step 5: Leave the shirt for about five to ten minutes.
You’d notice some parts of the shirt begin to fade.
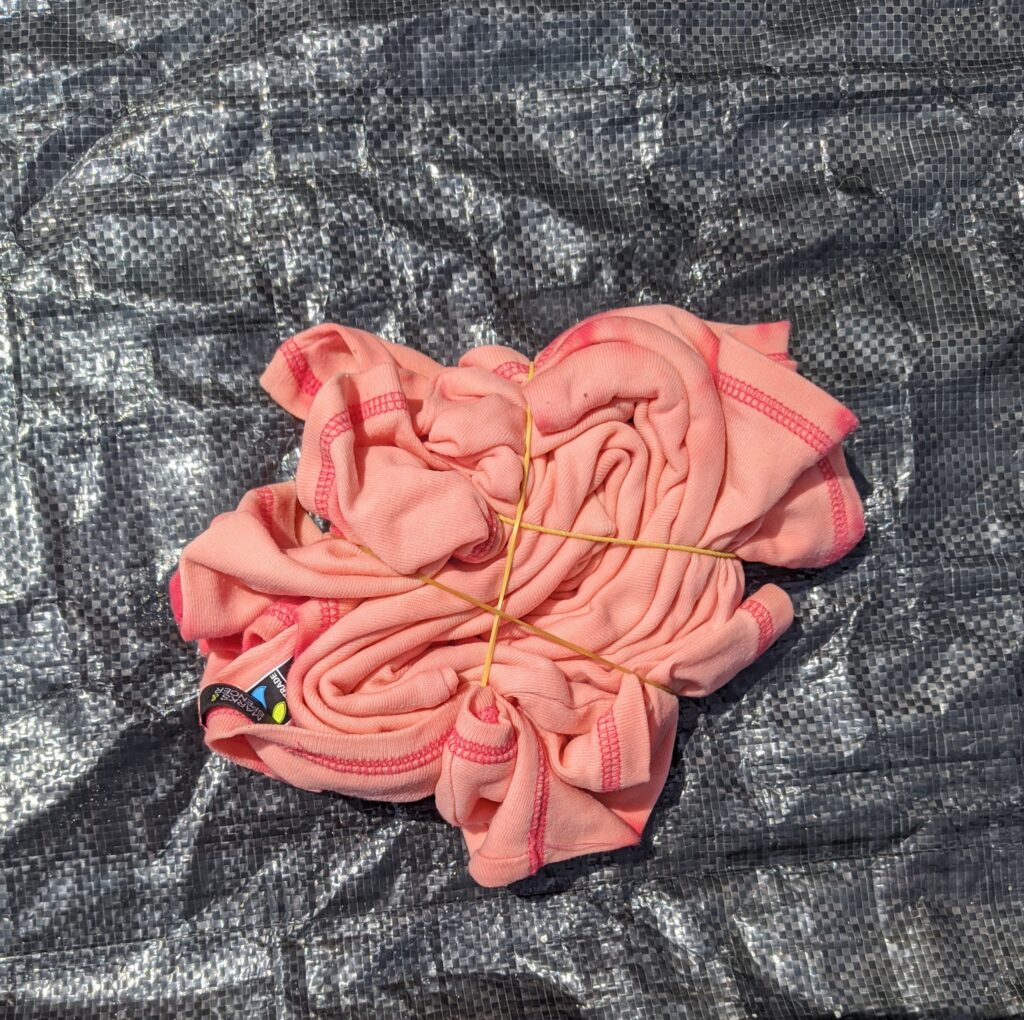
Step 6: Rinse out the bleach, take out the rubber bands, wash and dry the shirt.
That’s how you make a reverse tie/dye shirt. Its super easy and you can find everything you need at home!
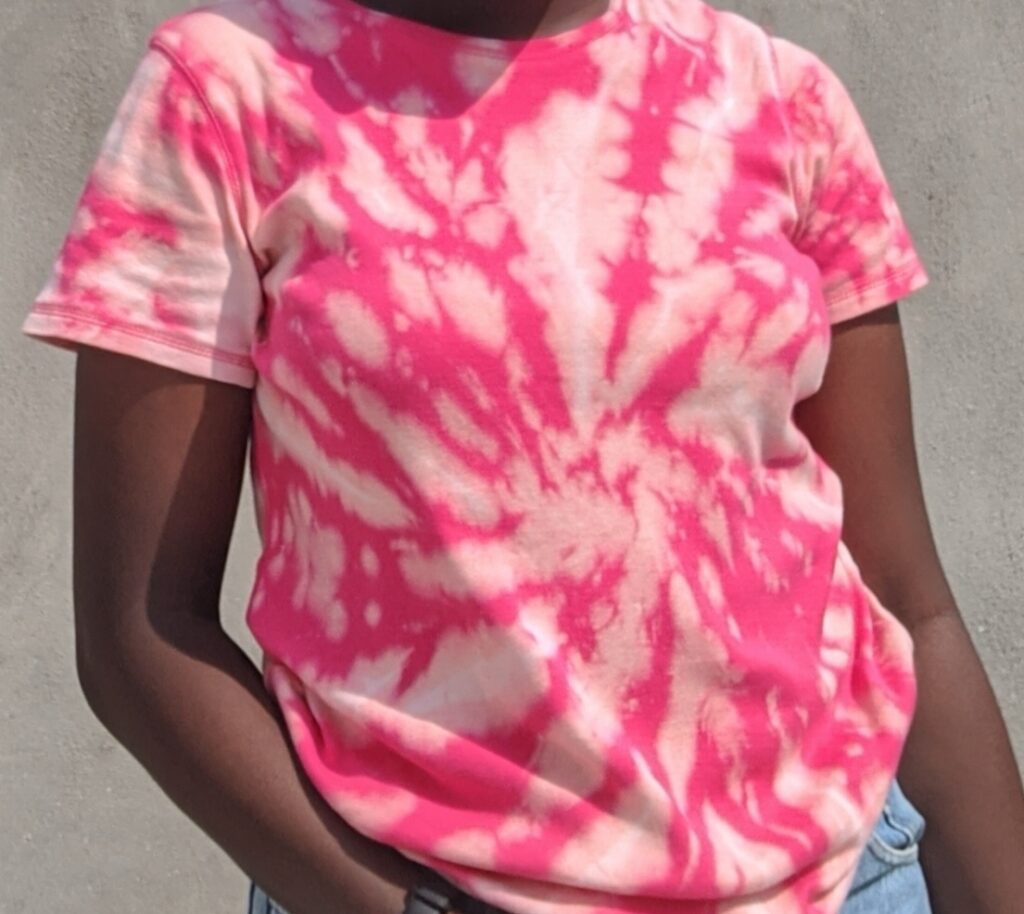
When you try out this project, feel free to send me pictures on Instagram or to my mail. I’d love to see it! Also, share this super easy reverse tie-dye tutorial with your friends so they can try it out too!




My brother recommended I might like this web site. He was entirely right.
This submit actually made my day. You can not consider simply how much time I had
spent for this info! Thank you!
Hey there! This post couldn’t be written any better!
Reading through this post reminds me of my good old room mate!
He always kept talking about this. I will forward this write-up to him.
Pretty sure he will have a good read. Thank you for sharing!
I’m not certain where you are getting your information, however great topic.
I needs to spend a while learning much more or
working out more. Thanks for magnificent info I used to be on the lookout for this info
for my mission.
I’m now not positive the place you are getting your info, but great topic.
I must spend some time learning more or understanding more.
Thanks for magnificent information I used to be looking for this information for my mission.
Hi there to every body, it’s my first visit of this web site; this weblog contains awesome and in fact excellent information in support of readers.
I’m not sure exactly why but this website is loading incredibly slow for me.
Is anyone else having this issue or is it a issue on my end?
I’ll check back later on and see if the problem still exists.
Great blog here! Additionally your website loads up very fast!
What host are you the use of? Can I get your associate hyperlink to your host?
I want my website loaded up as fast as yours lol