

Got an old plain tee or hoodie sitting idle in your closet? Try this fun project with this super easy reverse tie-dye tutorial!
I posted a picture on my Instagram a while ago where I wore a tie-dye shirt. I noticed that quite a number of people liked it and a few even asked where I purchased it, not realizing it was a DIY project. DIY projects help my creativity generally and so being a sweet angel with a heart of gold, I decided to do a simple tutorial here!
Materials
- Bleach
- Water
- Rubber bands
- A plain coloured tee/hoodie ( preferably 100% cotton)
You don’t want your work to be messy so you probably want to spread something on your work surface.
Steps
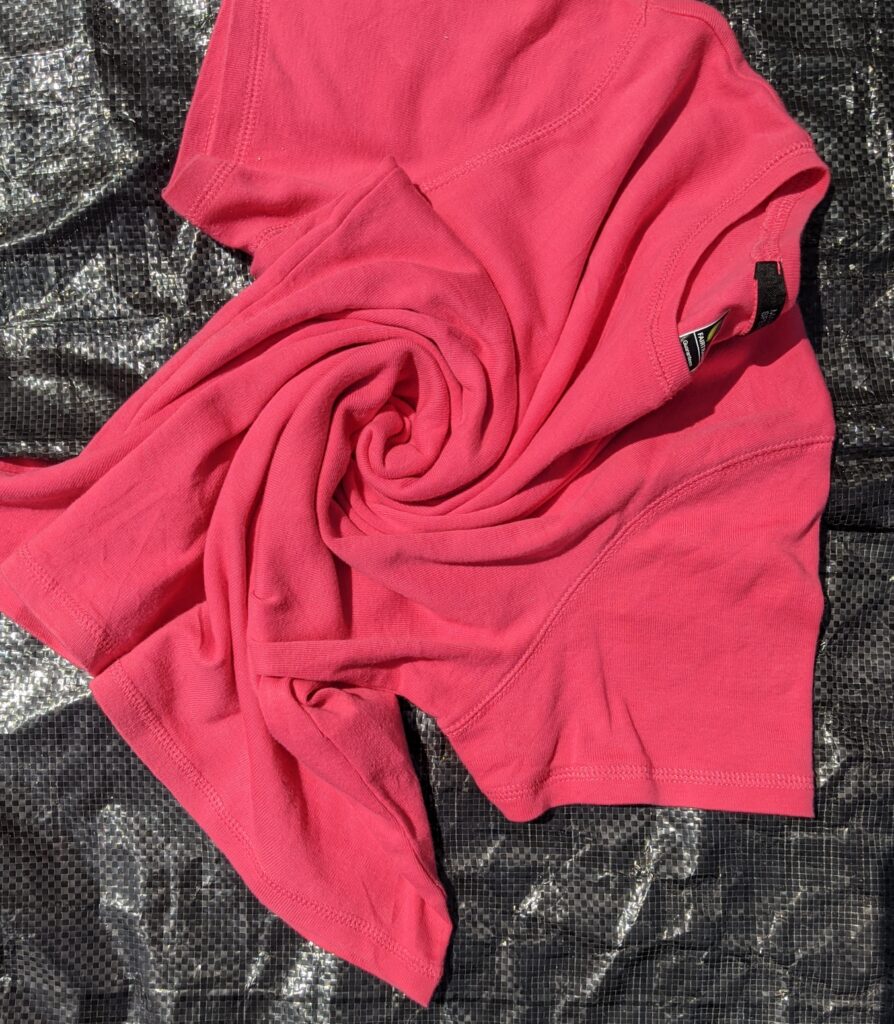
Step 1: ‘Tie’ the shirt.
There are lots of tying techniques which you can find here. Feel free to use the one that suits you best, but for the purpose of this post, I’d be using the spiral technique.
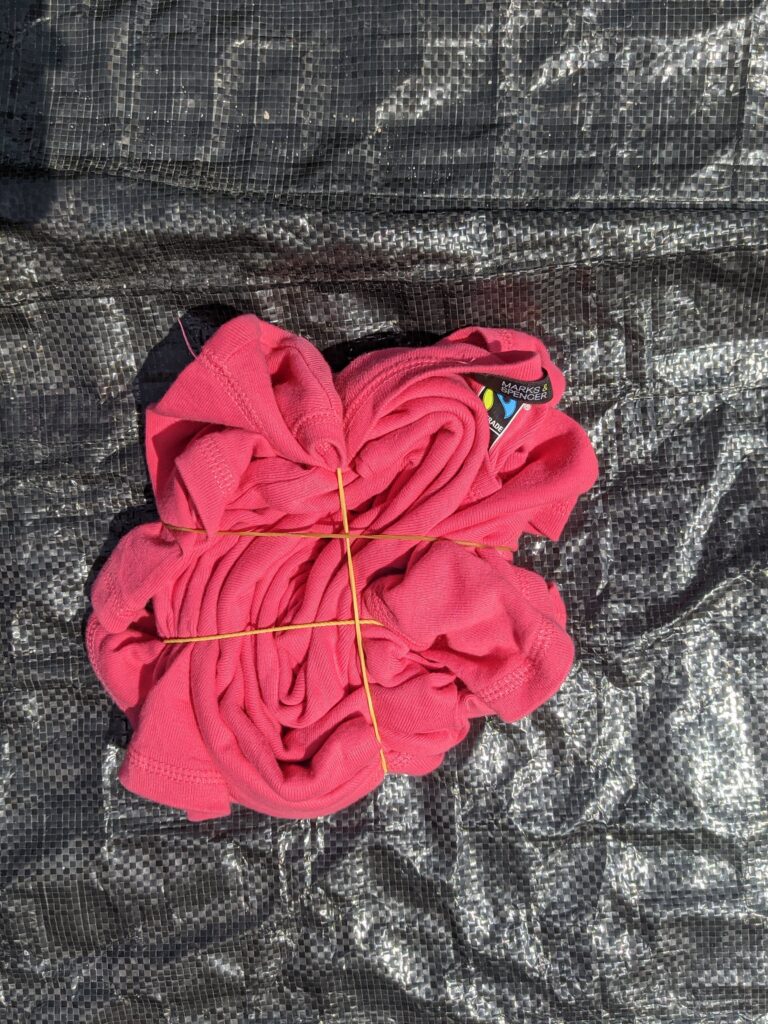
Step 2: Use the rubber bands to hold shirt in place.
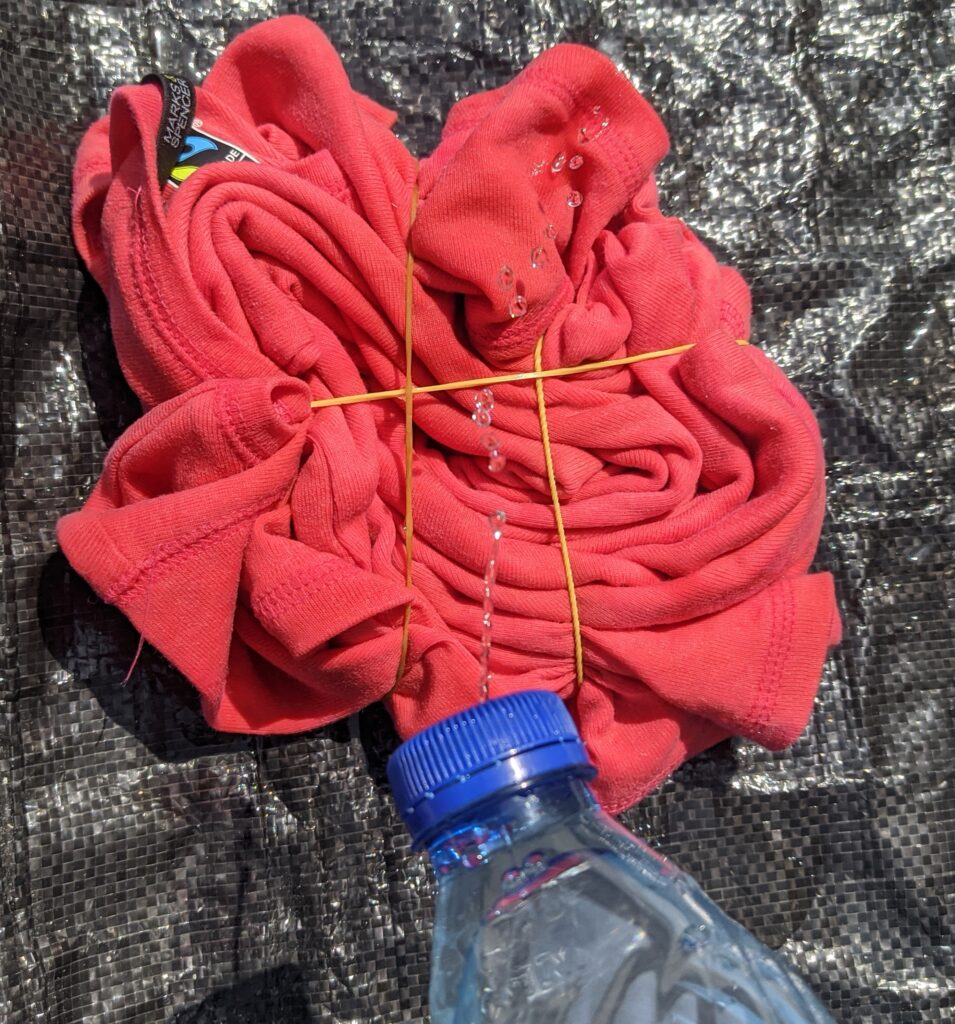
Step 3: Mix equal parts of bleach and water in a spray bottle.
If you don’t have one, you can make a makeshift spray bottle by puncturing the cap of a plastic bottle. You’re welcome.

Step 4: Spray the bleach + water mixture on your shirt till it is completely covered by the mixture.
Step 5: Leave the shirt for about five to ten minutes.
You’d notice some parts of the shirt begin to fade.

Step 6: Rinse out the bleach, take out the rubber bands, wash and dry the shirt.
That’s how you make a reverse tie/dye shirt. Its super easy and you can find everything you need at home!

When you try out this project, feel free to send me pictures on Instagram or to my mail. I’d love to see it! Also, share this super easy reverse tie-dye tutorial with your friends so they can try it out too!


These are actually fantastic ideas in about blogging. You
have touched some good factors here. Any way keep up wrinting.
Awesome blog! Do you have any suggestions for aspiring writers?
I’m hoping to start my own site soon but I’m a little lost
on everything. Would you suggest starting with a free platform like WordPress
or go for a paid option? There are so many options out there that
I’m totally overwhelmed .. Any tips? Appreciate it!
This is really interesting, You are a very skilled blogger.
I have joined your rss feed and look forward to seeking more of your great post.
Also, I have shared your website in my social networks!
You’ve made some really good points there. I checked on the net to learn more about the issue and found most people will go along with your views
on this web site.
Hey There. I found your blog using msn. This is a really well written article.
I will be sure to bookmark it and come back to read more of your
useful information. Thanks for the post. I will certainly comeback.
Howdy! I know this is somewhat off topic but I was wondering which blog platform are you using for this website?
I’m getting tired of WordPress because I’ve had issues
with hackers and I’m looking at options for another platform.
I would be awesome if you could point me in the direction of
a good platform.
Greate post. Keep writing such kind of information on your blog.
Im really impressed by it.
Hi there, You have done a fantastic job. I’ll definitely digg
it and in my view recommend to my friends. I am sure they’ll be
benefited from this site.